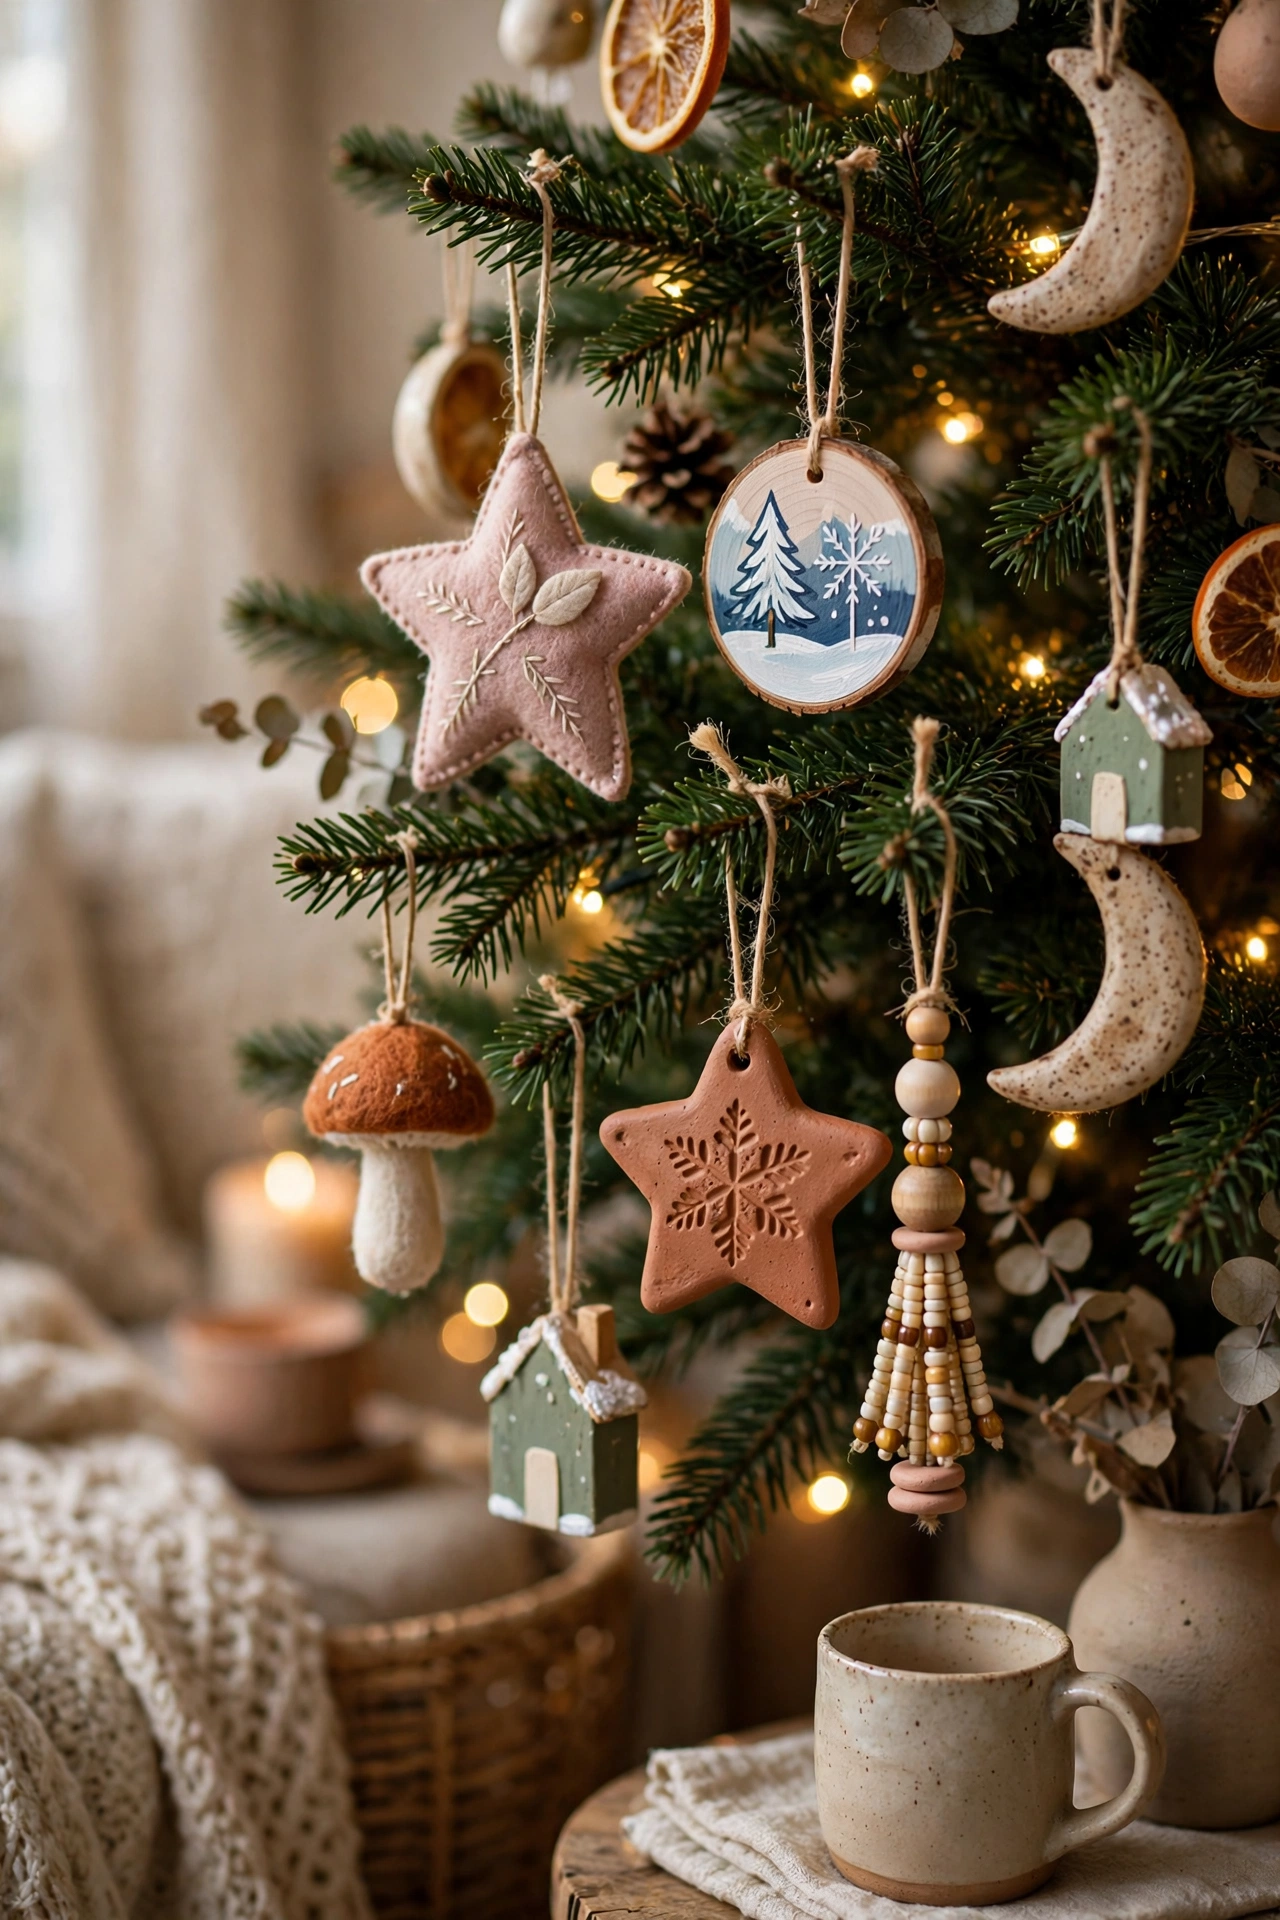
Handmade ornaments last when the base material is strong, the finish is sealed, and the hanging loop is fixed firmly. Felt, wood, clay, fabric, and wire all hold up for years when edges are finished and storage keeps weight off fragile parts. Choose materials that suit the tree, the room, and the storage boxes already in use.
Use the rating line under each heading to choose by time and cost. Make one test ornament before making a full set, and seal or finish each piece before it goes on the tree. The checklist at the end covers that test in one pass. Check hooks, loops, and branches together, so heavy ornaments hang on strong branches and light ones fill the tips. Photograph each finished set before packing, for easy setup next year.
1. Stitched Felt Star Ornaments

Best for: trees and garlands. Time: 25 minutes each. Cost: low. Effort: easy.
Cut two felt stars, stitch the edges with contrasting thread, and add light stuffing before closing the seam. The stitching holds the shape, the felt resists creasing, and the ornament packs flat or hangs without cracking, fading, or shedding glitter. Use the same stitch length around every star.
What you need:
- Wool-blend felt in red, cream, or green
- Contrasting thread and a sharp needle
- Light stuffing for a soft, even shape
- Ribbon or cord for a hanging loop
Avoid this: heavy stuffing that strains seams and distorts points.
2. Painted Wood Slice Ornaments, Sealed
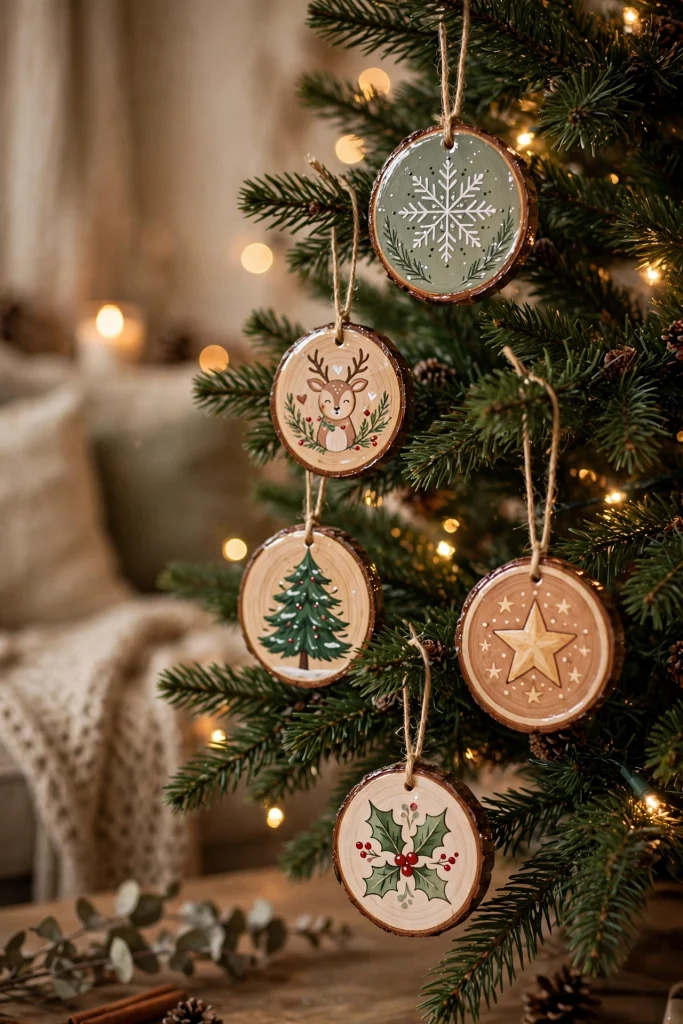
Best for: rustic and natural trees. Time: 40 minutes each. Cost: low to medium. Effort: medium.
Paint a simple design on a smooth wood slice, let the paint dry fully, and seal both sides with a clear finish. The seal protects the paint from handling and damp storage, and the flat slice hangs straight without spinning or tangling with nearby branches. Label the back lightly, with the year made.
Steps:
- Sand the wood slice smooth and wipe off dust.
- Paint a simple design and let it dry fully.
- Seal both sides and the edge with clear finish.
- Add a cord loop through a drilled hole or staple.
Avoid this: unsealed paint that chips when ornaments knock together in storage.
3. Air-Dry Clay Ornaments With Sealed Edges
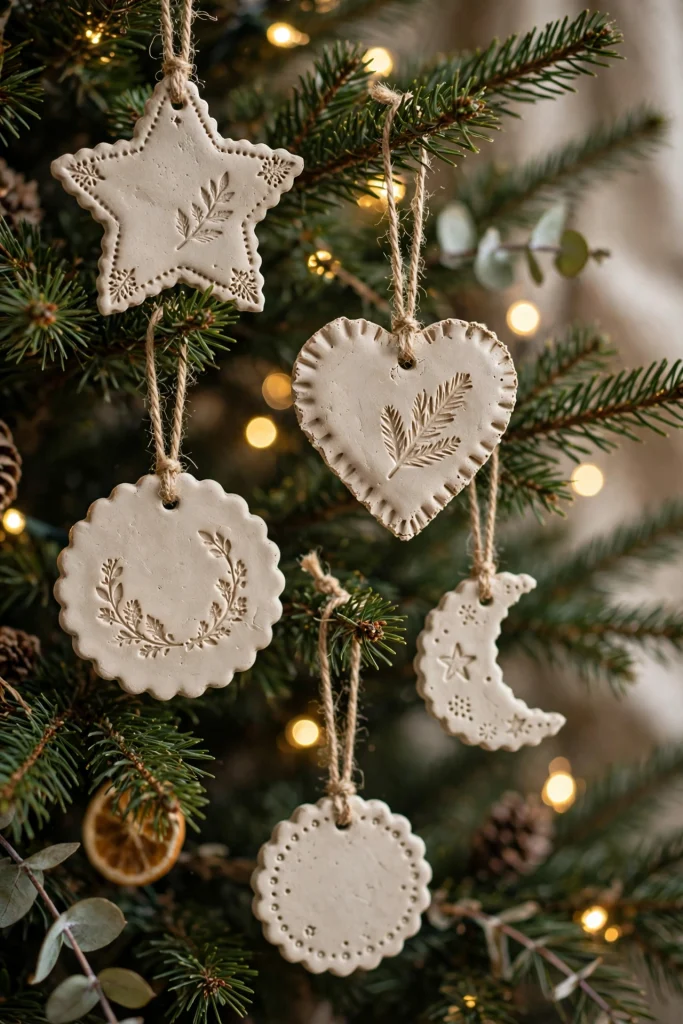
Best for: keepsake and gift ornaments. Time: 1 hour plus drying. Cost: low. Effort: medium.
Roll air-dry clay evenly, cut shapes with a cookie cutter, and poke a hanging hole before the clay dries. Paint after drying, then seal the front, back, and edges, because unsealed clay chips at thin points and absorbs damp in storage. Keep shapes thick enough to hold the hole.
Check before you buy:
- Clay rolls evenly without cracks at the edges
- Cutter shapes are simple, with no thin weak points
- Paint suits a porous clay surface
- Clear sealer covers front, back, and edges
Avoid this: thin clay shapes that snap at necks, arms, or points.
4. Embroidered Hoop Ornaments in Mini Frames
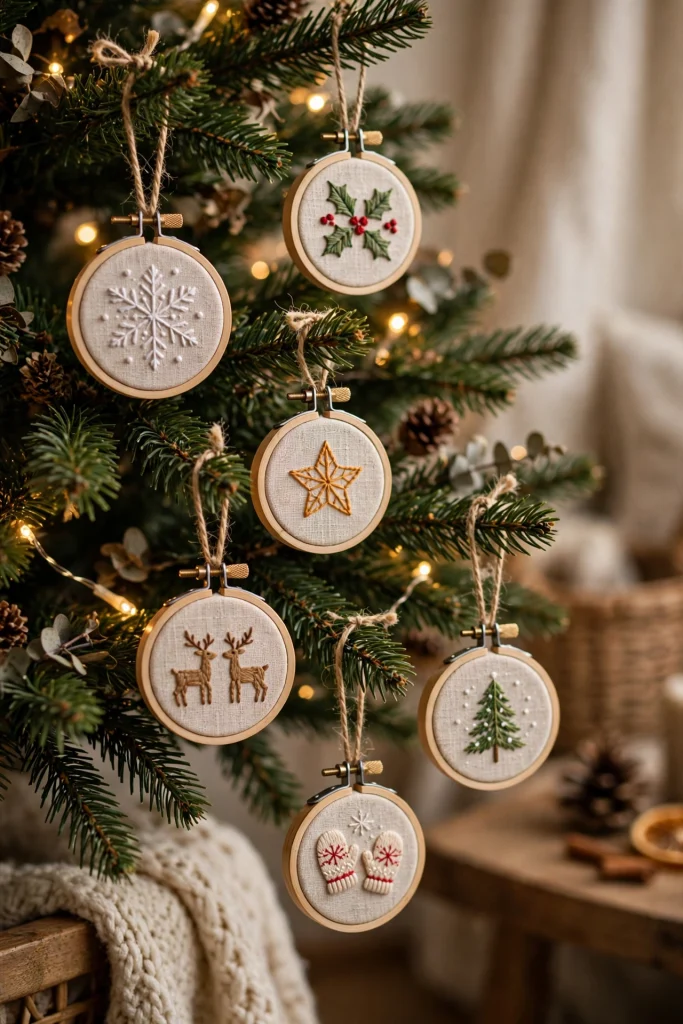
Best for: trees and wall displays. Time: 1 hour each. Cost: low to medium. Effort: medium.
Stretch plain fabric in a small wooden hoop, stitch a simple star, tree, or snowflake, and trim the fabric at the back. The hoop keeps the fabric taut, the frame protects the stitching, and the ornament hangs straight without curling at the edges over time. Tighten the hoop screw before hanging.
What you need:
- Small wooden embroidery hoops, 3 to 4 inches wide
- Plain cotton fabric, washed and ironed
- Embroidery thread in two or three colors
- Ribbon for hanging from the top screw
Avoid this: loose fabric that sags and hides the stitched design.
5. Fabric Scrap Baubles With Wrapped Thread

Best for: colorful trees and scrap fabric. Time: 20 minutes each. Cost: low. Effort: easy.
Wrap strips of fabric scrap around a foam or polystyrene ball, overlap the ends neatly, and pin or glue the final strip in place. The fabric cover hides wear, suits mixed patterns, and the ball keeps its round shape in a box without crushing. Overlap strips by the same amount each time.
Steps:
- Cut fabric scraps into strips of even width.
- Wrap strips around the ball, overlapping edges slightly.
- Pin or glue the final strip flat at the back.
- Add a ribbon loop pinned firmly at the top.
Avoid this: loose strips that peel back when the ornament is handled.
6. Wired Bead Icicle Ornaments

Best for: trees needing sparkle and length. Time: 20 minutes each. Cost: low to medium. Effort: easy.
Thread glass or acrylic beads onto wire in a tapering icicle shape, twist the top closed, and add a hanging loop from the same wire. The wire holds the shape through storage, and beads stay in order without thread stretching or knots slipping loose. Count beads before threading, for matching pairs.
Check before you buy:
- Wire is stiff enough to hold a straight taper
- Beads fit the wire without forcing or cracking
- Loop is twisted closed, not left open
- Beads are secure at both ends of the wire
Avoid this: soft thread that stretches and lets beads slide out of order.
7. Sealed Dried Orange Slice Ornaments
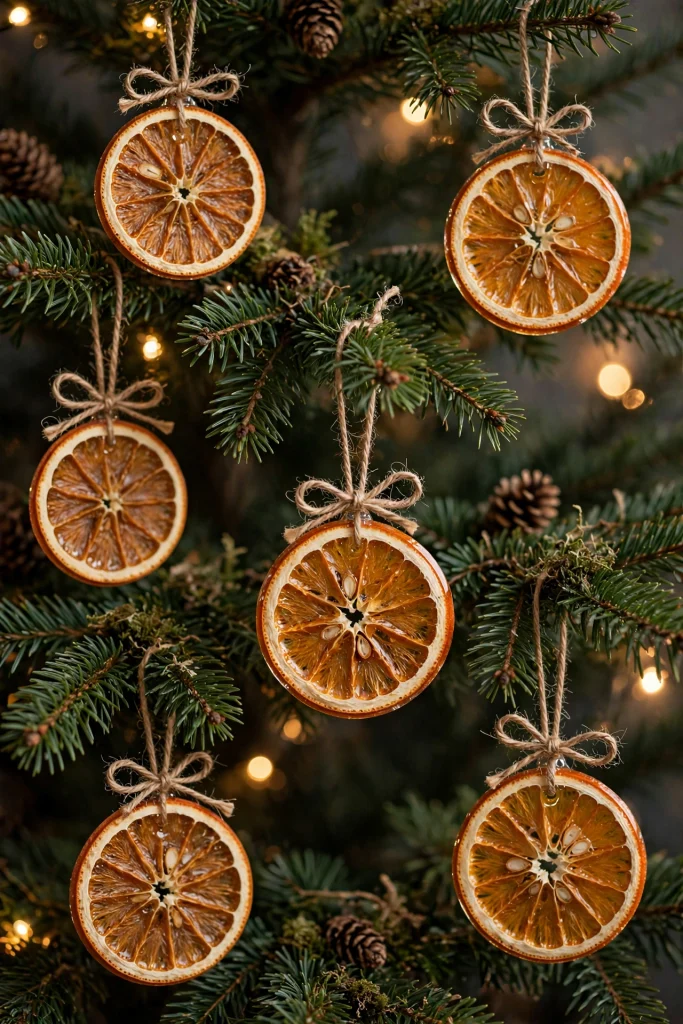
Best for: natural and woodland trees. Time: 15 minutes plus drying. Cost: low. Effort: easy.
Dry orange slices fully until firm, seal both sides lightly to slow moisture uptake, and thread twine through a small hole near the edge. The seal keeps slices from softening in damp rooms, and the flat shape hangs neatly between branches without catching on needles. Hang slices away from direct heat and steam.
What you need:
- Orange slices, dried until fully firm
- Clear sealer suited to dried fruit
- Twine cut into short hanging lengths
- Large needle for threading each slice
Avoid this: soft or damp slices, which bend, stain, and attract dust.
8. Pinecone Ornaments With Sealed Tips
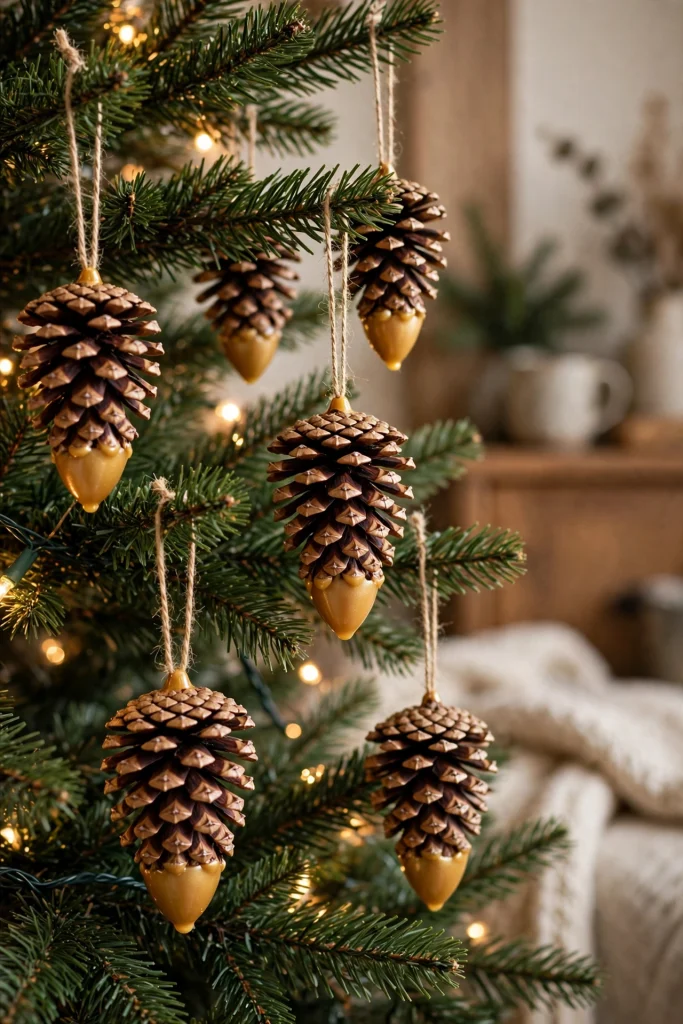
Best for: rustic trees and garlands. Time: 20 minutes each. Cost: low. Effort: easy.
Brush pinecone tips lightly with white or gold paint, let the paint dry, and seal the cone lightly so scales stay closed and paint stays in place. Tie twine firmly around the top scales, so the cone hangs point-down and does not slip off its loop in storage. Brush paint only on tips, not whole scales.
Steps:
- Brush pinecone tips lightly with paint.
- Let paint dry fully before sealing.
- Seal lightly, keeping the cone shape intact.
- Tie twine firmly around the top scales.
Avoid this: heavy paint that glues scales shut and hides the cone shape.
9. Quilted Fabric Ornaments With Bound Edges
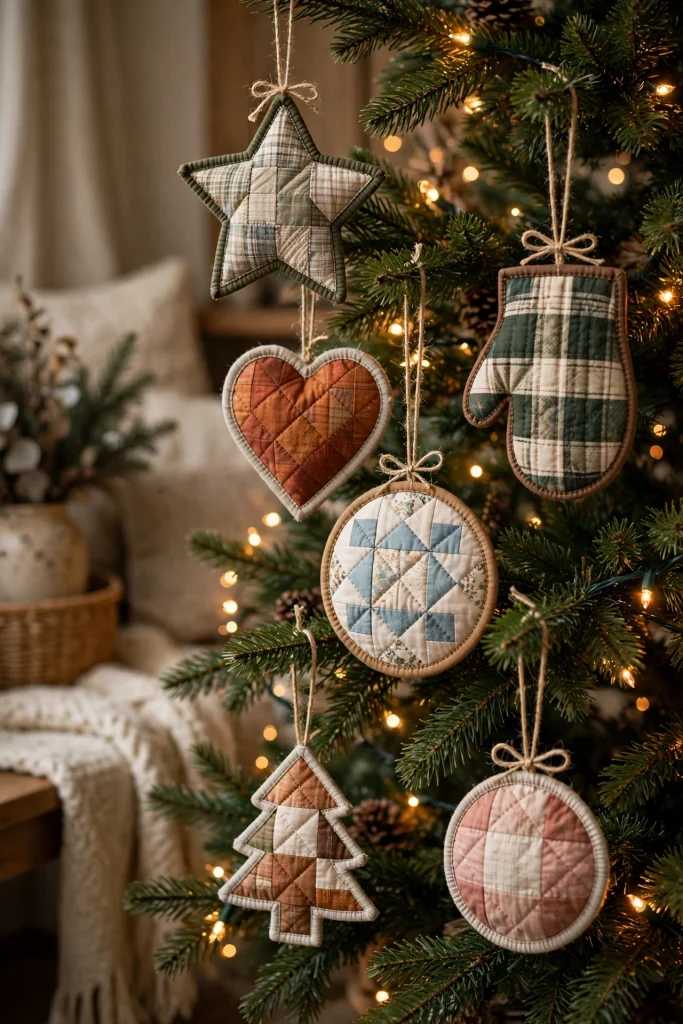
Best for: heirloom trees and gifts. Time: 45 minutes each. Cost: low to medium. Effort: medium.
Layer two fabric shapes with thin batting between them, stitch around the edge, and bind the edge with bias tape for a clean finish. The batting gives soft body, the binding stops fraying, and the ornament survives folding in a box without creasing the front design. Press seams flat before binding the edge.
Check before you buy:
- Fabric is pre-washed to limit shrinking later
- Batting is thin and even, with no lumps
- Bias tape matches or contrasts cleanly
- Stitching holds batting in place at the edges
Avoid this: thick batting that makes the ornament stiff and bulky.
10. Wooden Bead Star Ornaments on Wire
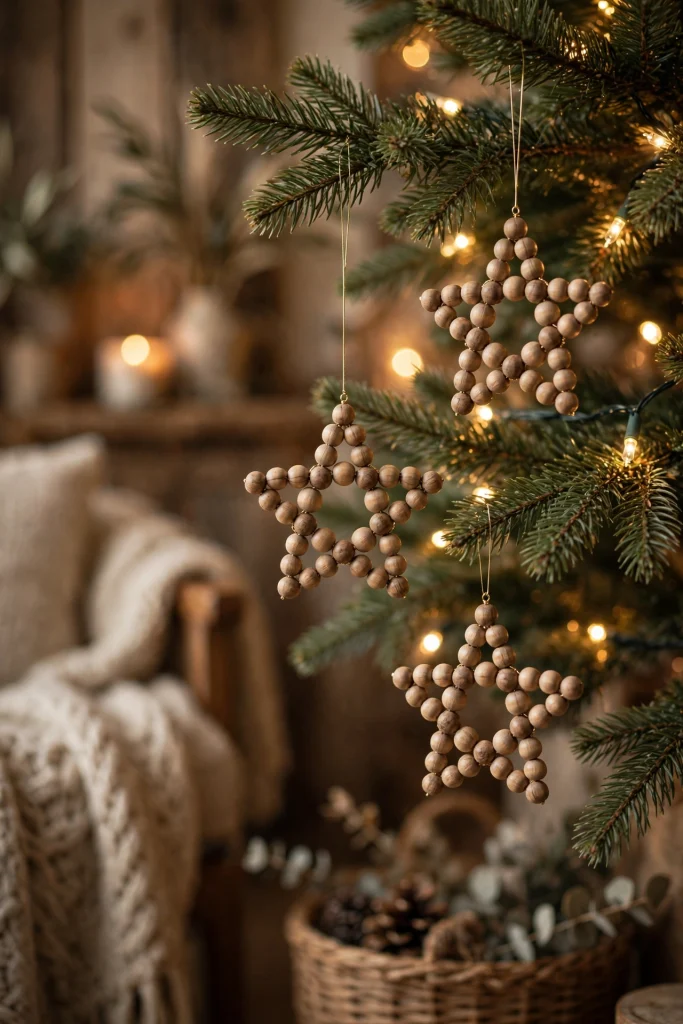
Best for: modern and Scandinavian trees. Time: 25 minutes each. Cost: low. Effort: easy.
Thread wooden beads onto wire in a five-point star shape, twist each point closed, and add a cord loop at the top point. The wire frame keeps the star rigid, beads stay evenly spaced, and the ornament packs flat in a box without bending out of shape. Check star points for equal length before twisting.
What you need:
- Wooden beads in one or two sizes
- Stiff craft wire that holds a star shape
- Cord or ribbon for a hanging loop
- Wire cutters and pliers for twisting ends
Avoid this: soft wire that bends when the star is lifted by its loop.
11. Button and Felt Tree Ornaments
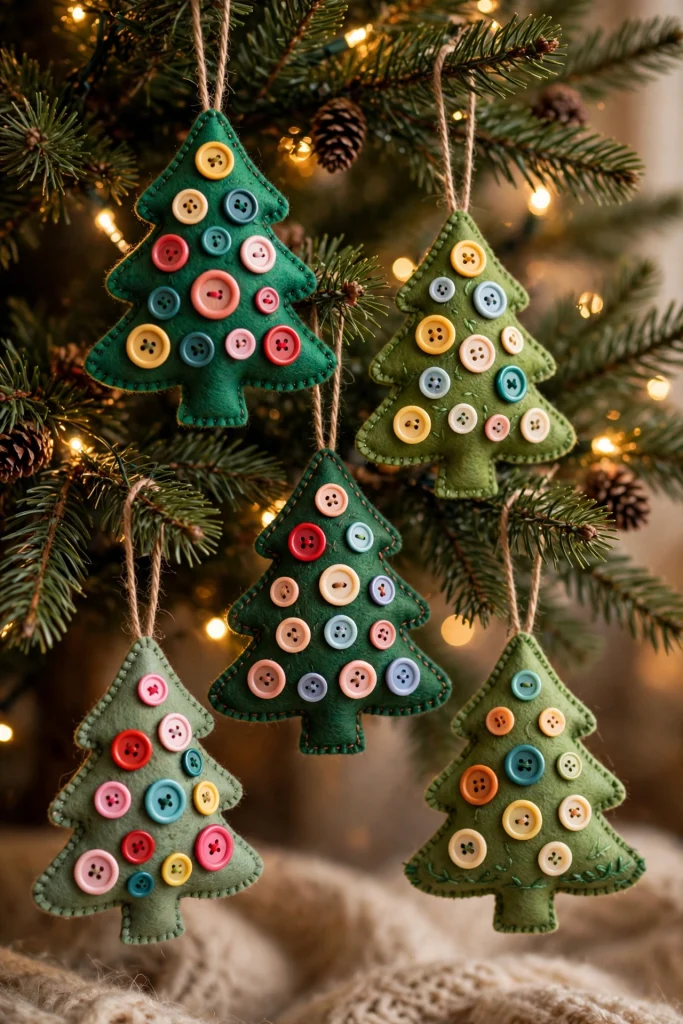
Best for: trees and handmade gifts. Time: 30 minutes each. Cost: low. Effort: easy.
Cut a tree shape from green felt, stitch or glue buttons in rows as ornaments, and add a small star or bead at the top. The flat shape stores easily, buttons add color without paint, and strong stitching keeps buttons in place through years of hanging and packing. Use matching buttons for a balanced look.
Steps:
- Cut a tree shape from firm green felt.
- Arrange buttons in rows before fixing them.
- Stitch or glue buttons firmly in place.
- Add a star at the top and a loop behind it.
Avoid this: buttons glued only at the center, which lift at the edges.
12. Labeled Storage-Ready Ornament Sets
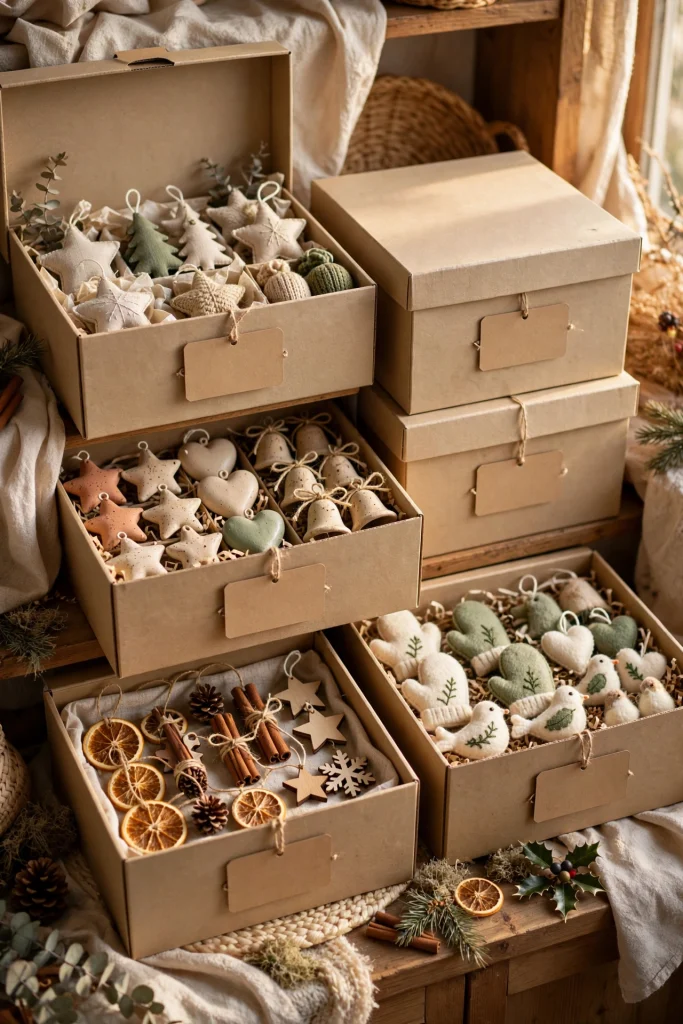
Best for: full ornament collections. Time: 30 minutes per set. Cost: low. Effort: easy.
Finish each ornament with a firm loop, wrap fragile pieces in tissue, and pack sets in labeled boxes with dividers or layers. The system protects the most fragile ornaments, makes the next Christmas setup faster, and stops heavy pieces from crushing light felt and paper ornaments. Stack boxes by weight, heaviest at the bottom.
What you need:
- Sturdy boxes with lids that close flat
- Tissue paper for wrapping fragile pieces
- Cardboard dividers or layers for separation
- Labels listing the set, count, and year made
Avoid this: mixed boxes where heavy wood and clay crush felt ornaments.
Quick Checklist
- One test ornament is finished before a full set.
- Edges, backs, and hanging holes are sealed or bound.
- Loops are twisted, stitched, or pinned firmly closed.
- Paint and glue are fully dry before packing.
- Fragile pieces are wrapped and kept off the bottom.
- Boxes are labeled with set name and ornament count.
Common Questions
Why do handmade ornaments break in storage most often?
Most damage comes from weight, damp, and loose loops. Pack fragile pieces on top, keep boxes dry, and check every loop before hanging ornaments again.
Should clay ornaments be sealed on both sides?
Yes. Seal the front, back, and edges, because unsealed clay chips at thin points and absorbs damp in storage, even inside a closed box.
How can felt ornaments keep their shape for years?
Use firm felt, light stuffing, and strong edge stitching, then store pieces flat or hanging. Keep heavy items off felt ornaments so points and edges do not bend permanently.