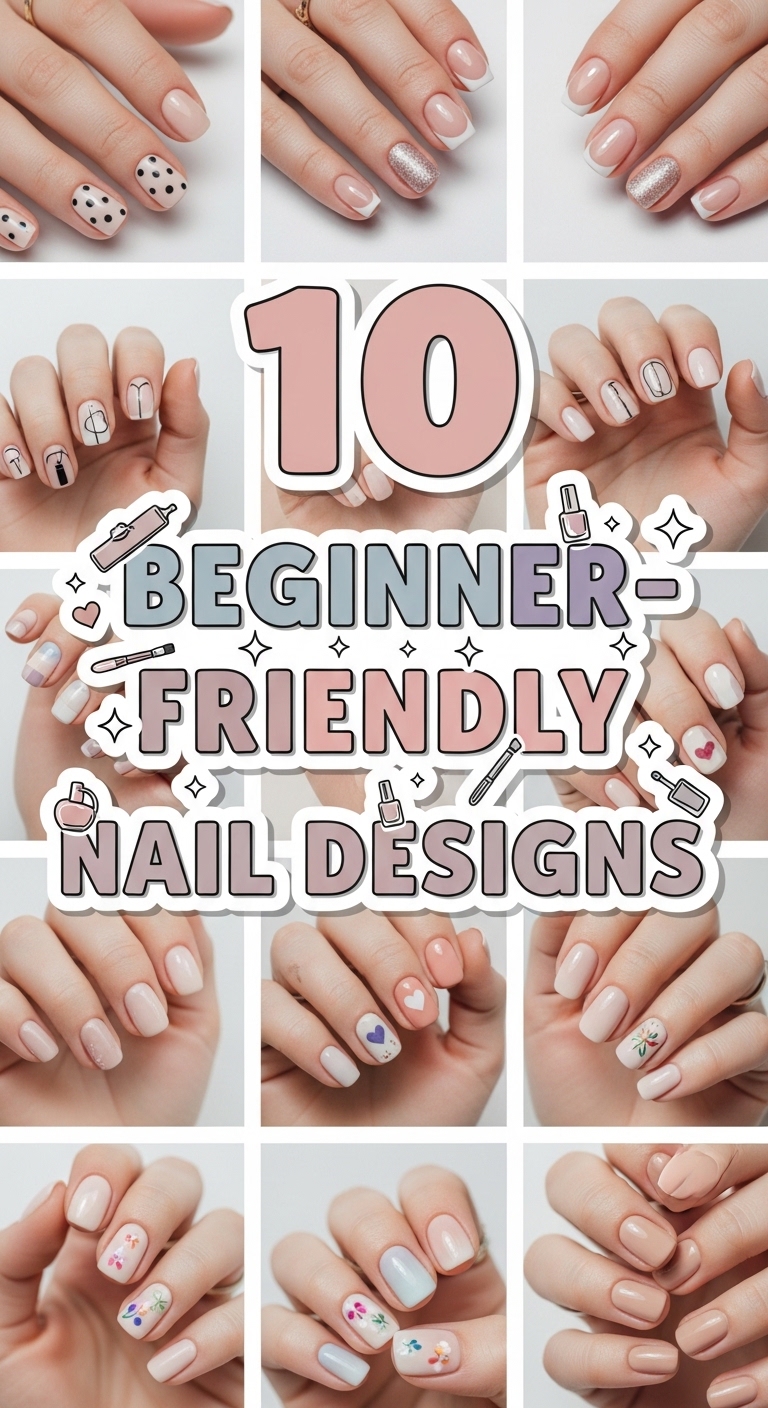
If you’re new to nail art and want something simple yet stylish, you’re in the right place. Nail art doesn’t have to be complicated or expensive. With a few basic tools and a little creativity, you can create beautiful manicures at home. In this guide, we’ll explore 10 beginner-friendly nail designs that are easy to recreate, trendy, and perfect for everyday wear.
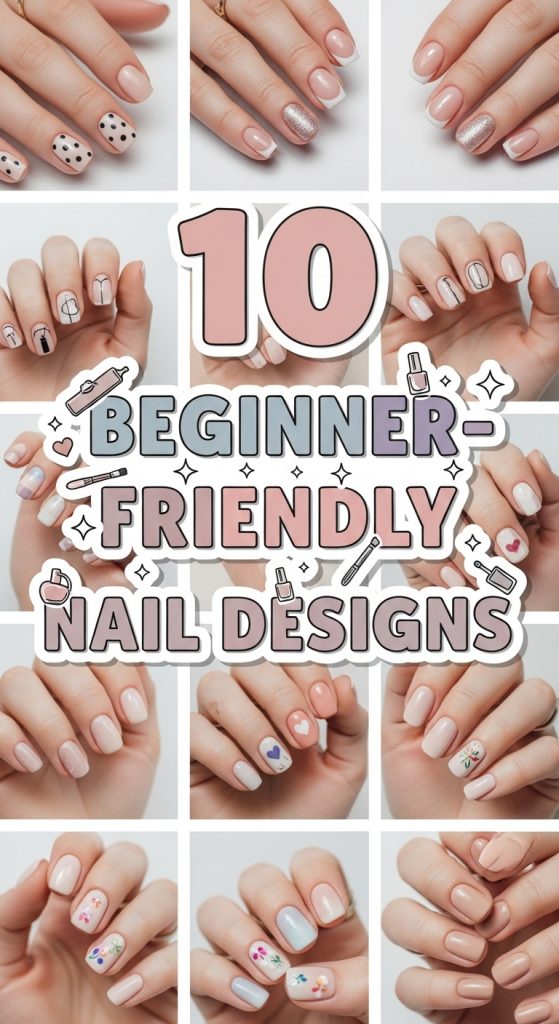
Whether you’re practicing at home or starting your nail art journey, these easy nail designs for beginners will help you build confidence and improve your skills step by step.
Why Choose Beginner-Friendly Nail Designs?
Simple nail art designs are perfect because:
- They require minimal tools
- They are easy to fix if mistakes happen
- They take less time
- They look clean and professional
- They are budget-friendly
If you’re just starting, focus on mastering basic techniques like dots, lines, color blocking, and glitter application before moving to advanced designs.
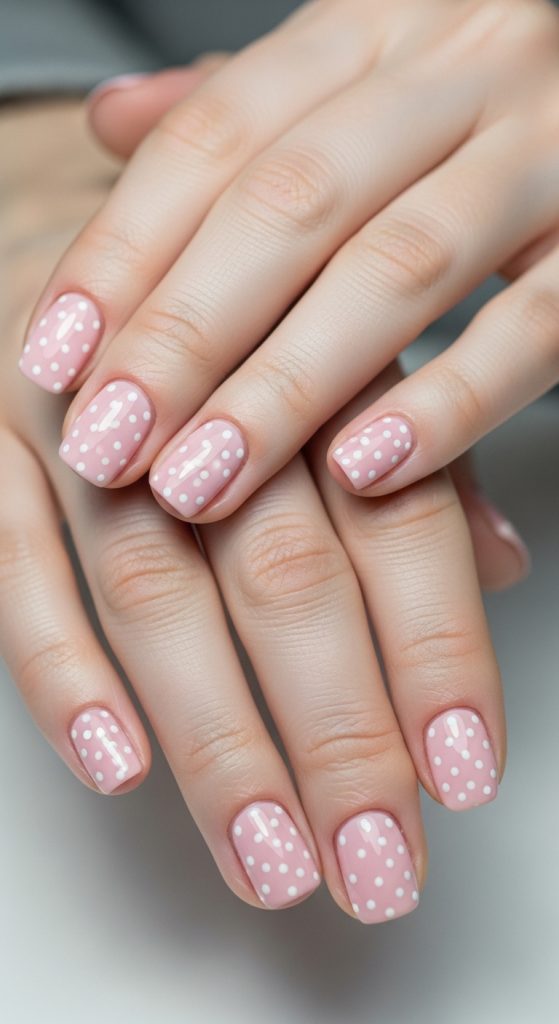
1. Classic Polka Dot Nails
Polka dot nails are one of the easiest nail designs for beginners. All you need is a base color and a contrasting polish for the dots.
How to create it:
- Apply a base coat.
- Paint your nails with your favorite color.
- Use a dotting tool, bobby pin, or toothpick to create small dots.
- Seal with a top coat.
Best color combinations:
- White dots on pastel pink
- Black dots on nude
- Colorful dots on white
This design is playful, cute, and perfect for daily wear.
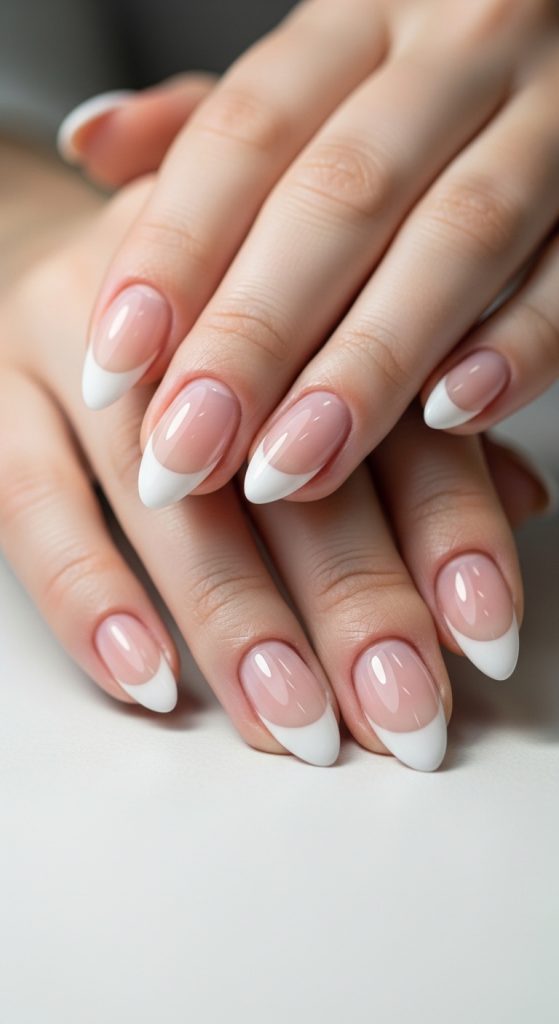
2. Simple French Tips
French tips are timeless and elegant. Beginners can easily create this look using nail guides or tape.
Steps:
- Apply a soft nude or pink base.
- Paint the tips white (or any color you prefer).
- Finish with a glossy top coat.
You can also try colored French tips for a modern twist.
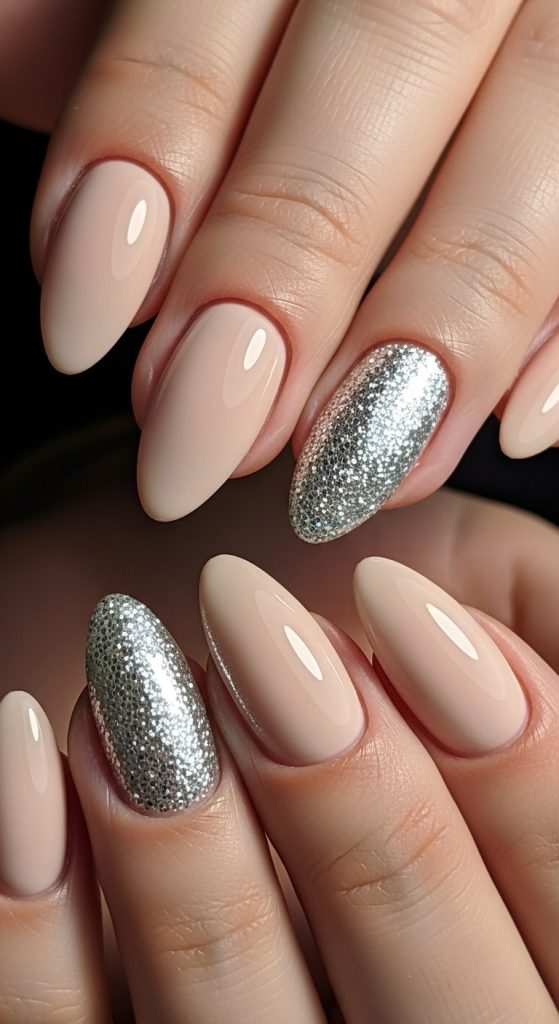
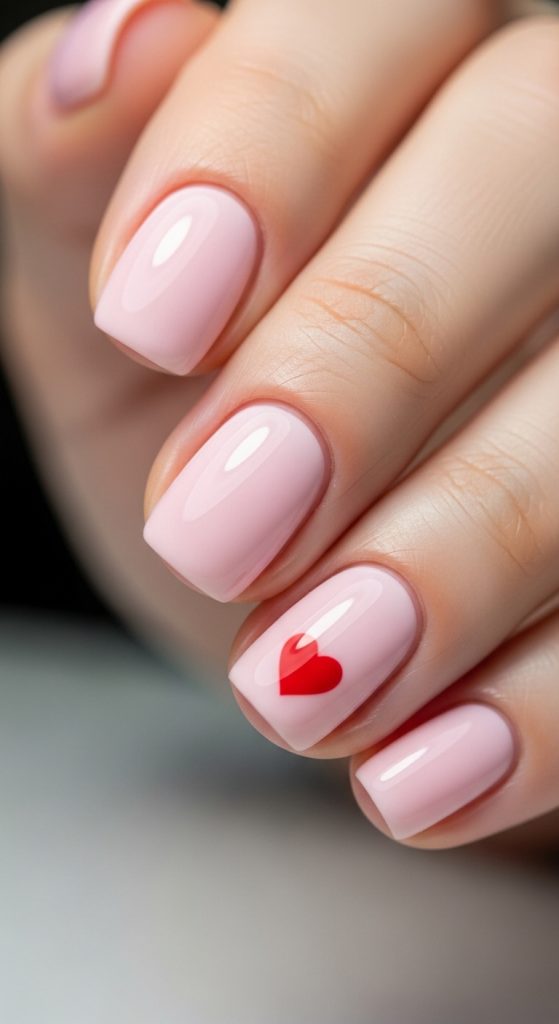
3. Accent Nail Design
If doing all nails feels overwhelming, try an accent nail. Paint four nails in one solid color and add a simple design on one nail.
Ideas for accent nails:
- Glitter
- A single stripe
- Small heart
- Tiny star
This design is trendy and very beginner-friendly.
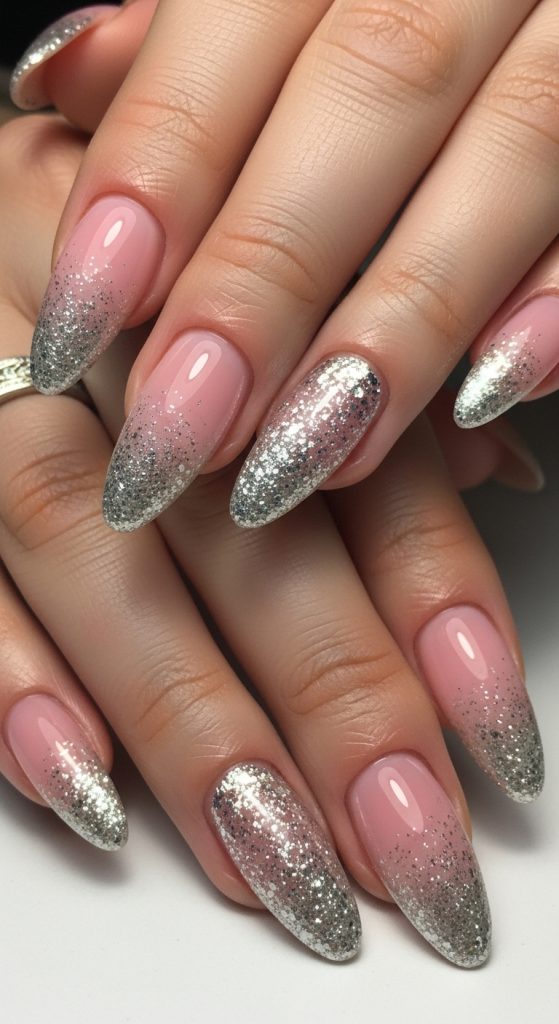
4. Glitter Gradient Nails
Glitter gradient nails look fancy but are surprisingly easy.
How to do it:
- Apply a base color.
- Dab glitter polish starting from the tip or base.
- Blend lightly using a sponge.
- Apply top coat.
This design is perfect for parties and special occasions.
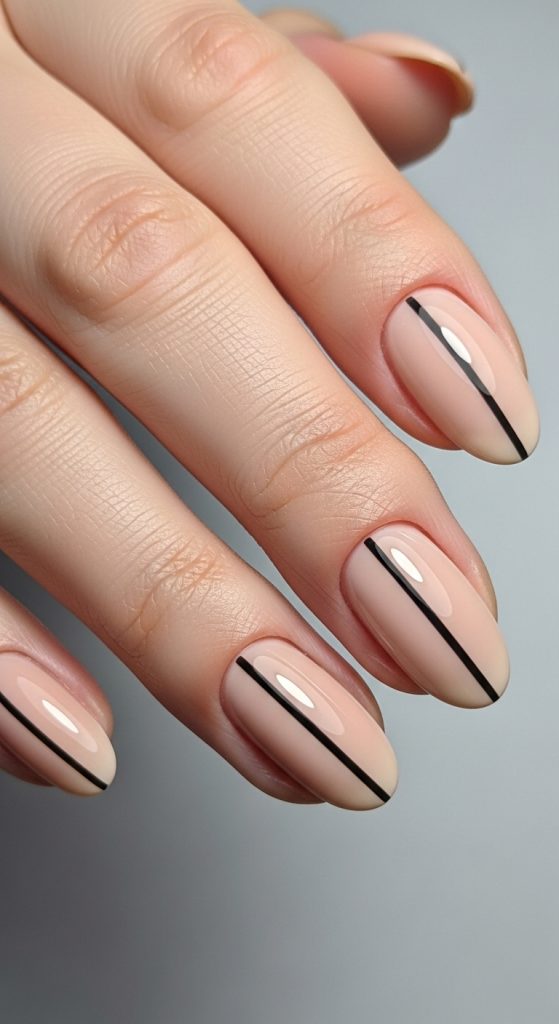
5. Minimalist Line Art
Thin lines create a modern and aesthetic manicure. You only need a thin nail brush or striping tape.
Design ideas:
- One vertical line in the center
- Two diagonal lines
- Metallic stripe over nude base
Minimalist nails are stylish and ideal for beginners who prefer simple looks.
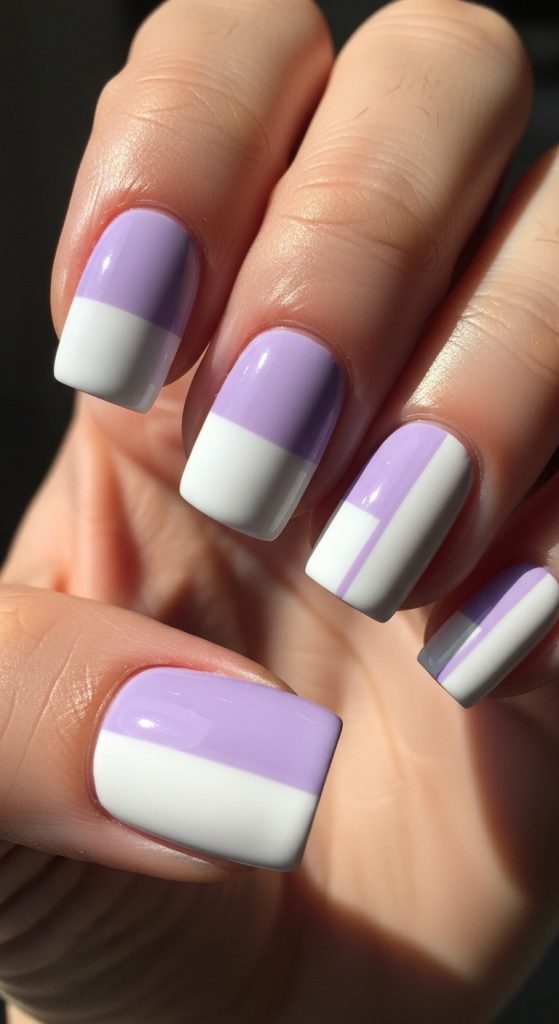
6. Two-Tone Color Block Nails
Color blocking is another easy nail design for beginners. Choose two complementary shades.
Steps:
- Apply your first color.
- Use tape to section off part of the nail.
- Apply the second color.
- Remove tape carefully and apply top coat.
Try combinations like pink and white, lavender and mint, or beige and gold.
7. Cute Heart Nail Design
Hearts are simple yet adorable. You can create a tiny heart using a dotting tool.
How to create a heart:
- Make two small dots next to each other.
- Drag them down gently into a V shape.
This design works great for Valentine’s Day or cute everyday nails.
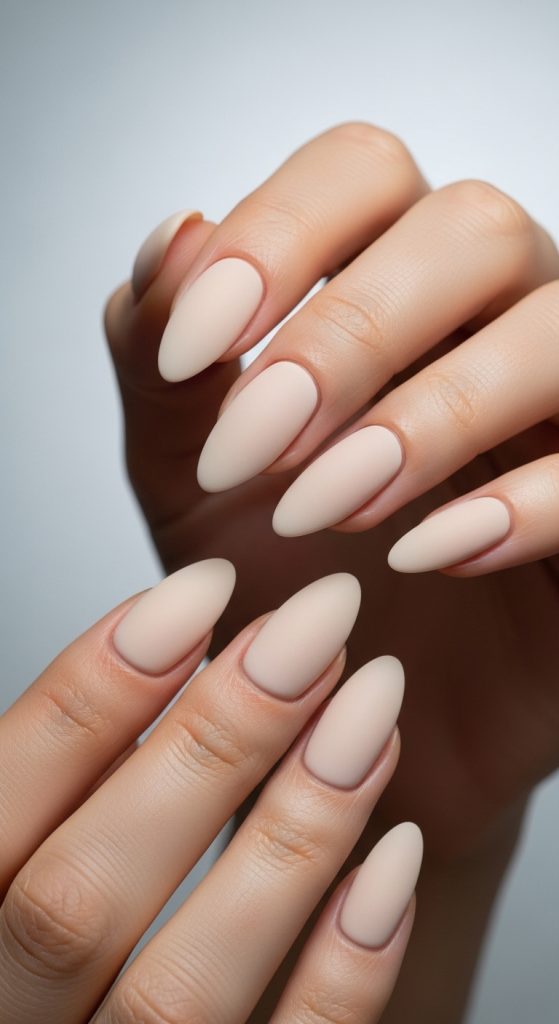
8. Matte Finish Nails
If you’re not confident in nail art yet, simply apply a matte top coat over any polish.
Matte nails look sophisticated and trendy without extra effort. You can also combine glossy and matte finishes for contrast.
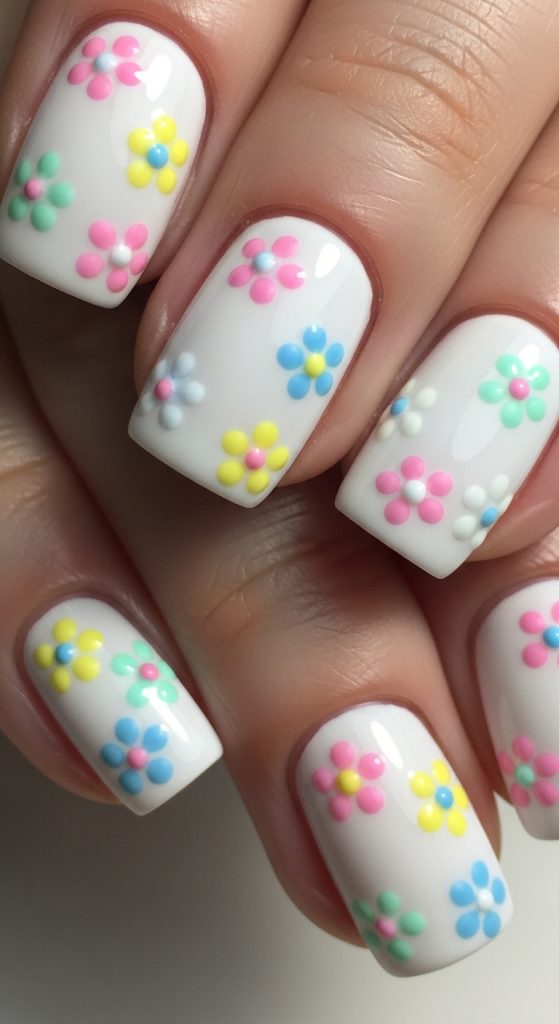
9. Easy Floral Dots
Floral nail designs may look detailed, but simple flowers are easy to make.
Steps:
- Create five small dots in a circle (petals).
- Add a different colored dot in the center.
- Repeat on one or two nails.
This is perfect for spring and summer nail designs.
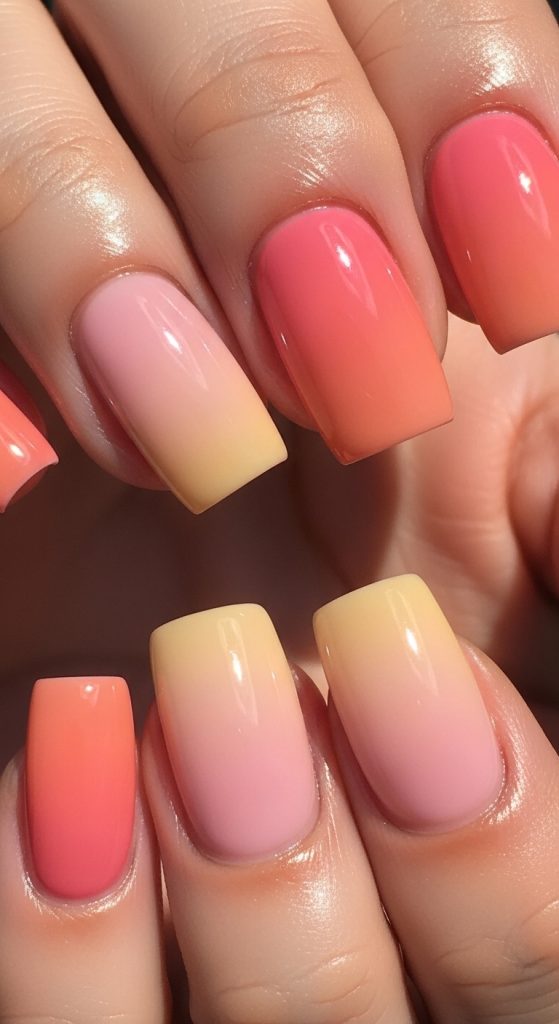
10. Ombre Nails (Beginner Version)
Ombre nails may seem advanced, but beginners can achieve a soft blend using a makeup sponge.
How to do it:
- Apply a base color.
- Paint two colors next to each other on a sponge.
- Dab gently onto nails.
- Repeat until blended.
- Apply top coat.
Choose similar shades (like light pink and darker pink) for easier blending.
Essential Tools for Beginner Nail Art
To get started, you only need a few basic tools:
- Base coat and top coat
- 2–3 nail polish colors
- Dotting tool or toothpick
- Nail tape
- Small sponge
- Thin nail art brush
You don’t need expensive salon tools to create beautiful nail designs at home.
Tips to Make Your Nail Designs Last Longer
To keep your manicure fresh and chip-free:
- Always apply a base coat.
- Use thin layers of polish.
- Seal the edges of your nails.
- Apply a quality top coat.
- Avoid water for at least 1 hour after painting.
Practicing regularly will improve your precision and confidence.
Final Thoughts
These beginner-friendly nail designs prove that nail art doesn’t have to be complicated. From polka dots and French tips to glitter gradients and simple ombre, each design is easy to recreate at home.
Start with simple patterns and gradually experiment with new techniques. With patience and practice, you’ll soon master more advanced nail art styles.
Now grab your nail polishes and start creating beautiful beginner nail designs today!
Leave a Reply