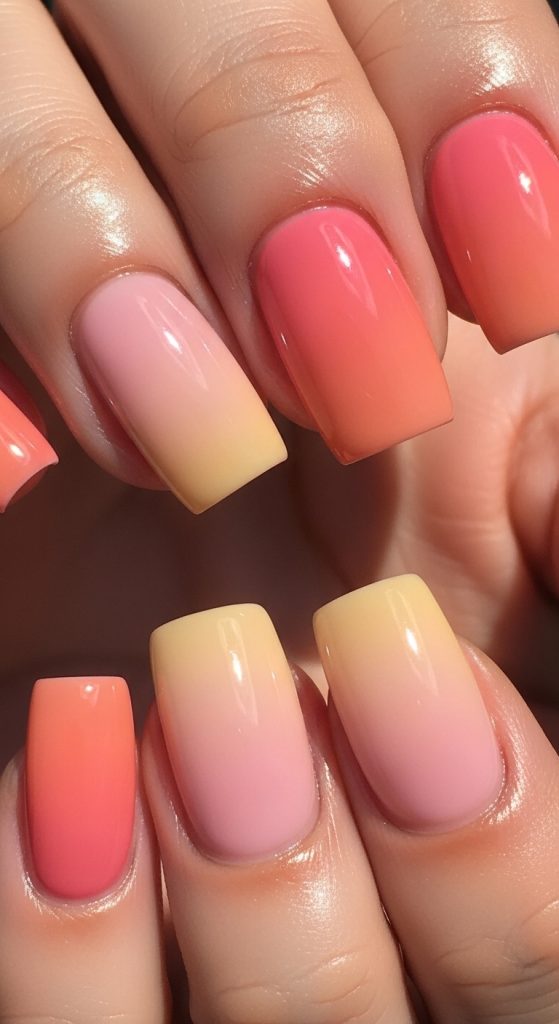
10. Ombre Nails (Beginner Version)
Ombre nails may seem advanced, but beginners can achieve a soft blend using a makeup sponge.
How to do it:
- Apply a base color.
- Paint two colors next to each other on a sponge.
- Dab gently onto nails.
- Repeat until blended.
- Apply top coat.
Choose similar shades (like light pink and darker pink) for easier blending.
Essential Tools for Beginner Nail Art
To get started, you only need a few basic tools:
- Base coat and top coat
- 2–3 nail polish colors
- Dotting tool or toothpick
- Nail tape
- Small sponge
- Thin nail art brush
You don’t need expensive salon tools to create beautiful nail designs at home.
Tips to Make Your Nail Designs Last Longer
To keep your manicure fresh and chip-free:
- Always apply a base coat.
- Use thin layers of polish.
- Seal the edges of your nails.
- Apply a quality top coat.
- Avoid water for at least 1 hour after painting.
Practicing regularly will improve your precision and confidence.
Final Thoughts
These beginner-friendly nail designs prove that nail art doesn’t have to be complicated. From polka dots and French tips to glitter gradients and simple ombre, each design is easy to recreate at home.
Start with simple patterns and gradually experiment with new techniques. With patience and practice, you’ll soon master more advanced nail art styles.
Now grab your nail polishes and start creating beautiful beginner nail designs today!